High-precision detection of the excavator
TRACKSCAN tracking 3D scanner, which doesn’t need to stick the points, quickly obtains the point distance data of assembly shaft of excavator arm and increase the efficiency and complete the 3D detection.
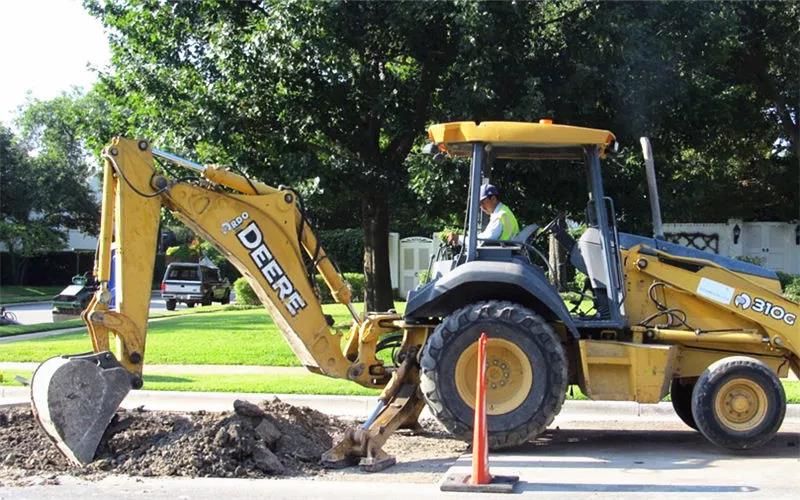
The excavators are one of main construction machinery for infrastructure projects, and overall performance of excavators directly affects the progress of infrastructure projects.
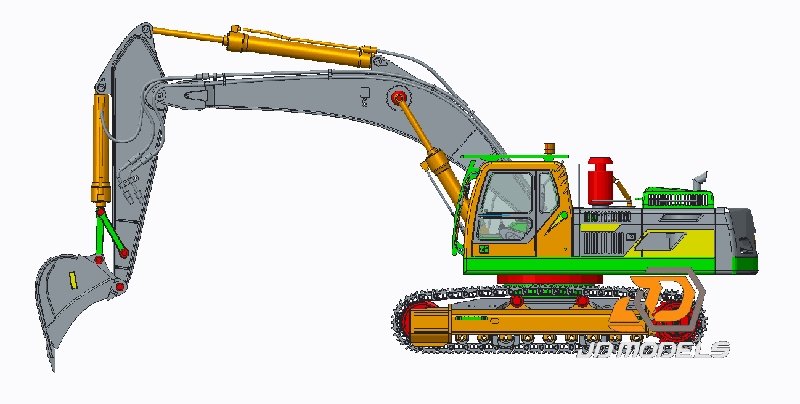
The excavator is composed of multiple parts, among which the arm is a part that moves more frequently and has a large amplitude action in the excavation operation, and it is even more indispensable.
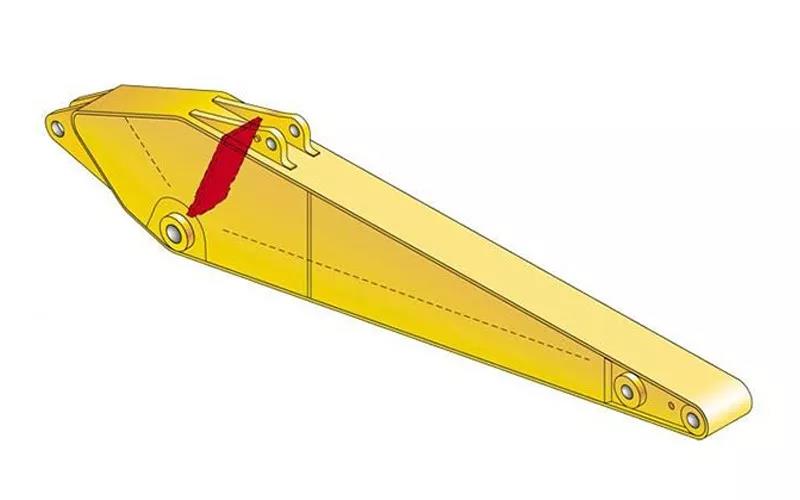
The arm is connected with the excavator through the spindle hole, and the load that the excavator bears first press it on the arm during operation, so the processing and manufacturing technology requirements of the arms are very high.
If the spindle hole of the arm could not meet the design requirements when it was manufactured, it will cause that the earth scoop shakes during operation, which will directly affect the efficiency of the excavator, and it will also reduce the service life of the excavator and increase the failure rate.
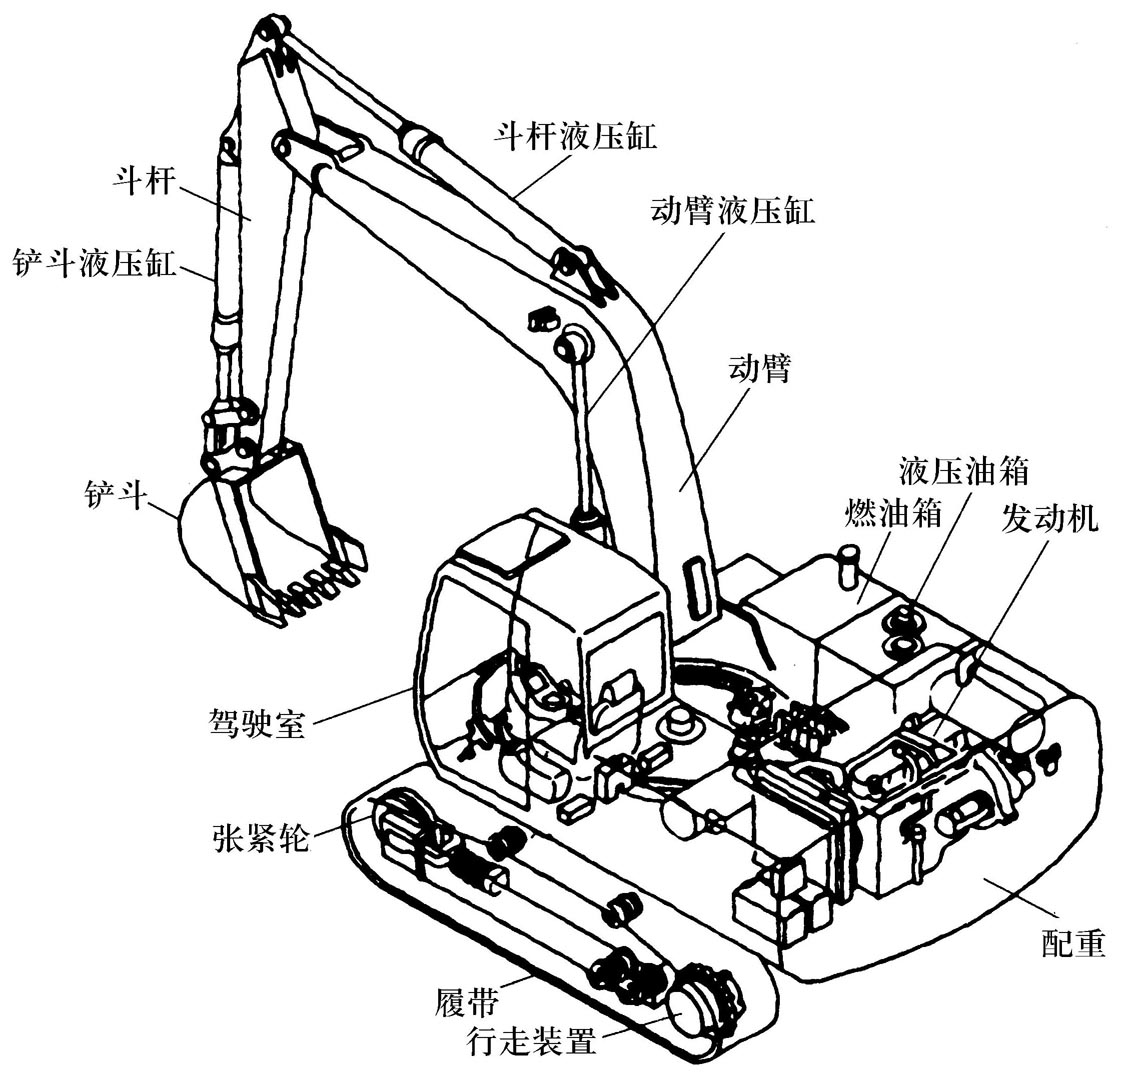
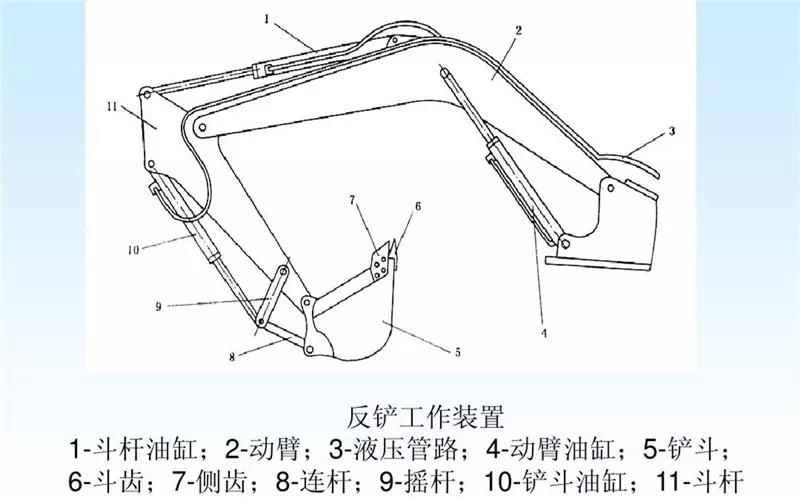
Therefore, it is very important to detect the spindle hole of the arm during it was manufactured! However, ordinary three-dimensional scanners measure the speed of the spindle holes very slowly, and the accuracy is not high, which is completely unable to meet the requirements.
TRACKSCAN tracking 3D scanner, which doesn’t need to stick points and measures distance up to 10 meters, quickly obtains accurate 3D data of excavator arms. With TrackProbe light pen, it can achieve 15-meter contact measurement, and it quickly and easily accesses to three-dimensional data of the spindle hole.
Solution 1. Use TRACKSCAN racking 3D scanner.

2. The spindles are performed three-dimensional scanning (size: 3000 mm long, 650 mm wide).
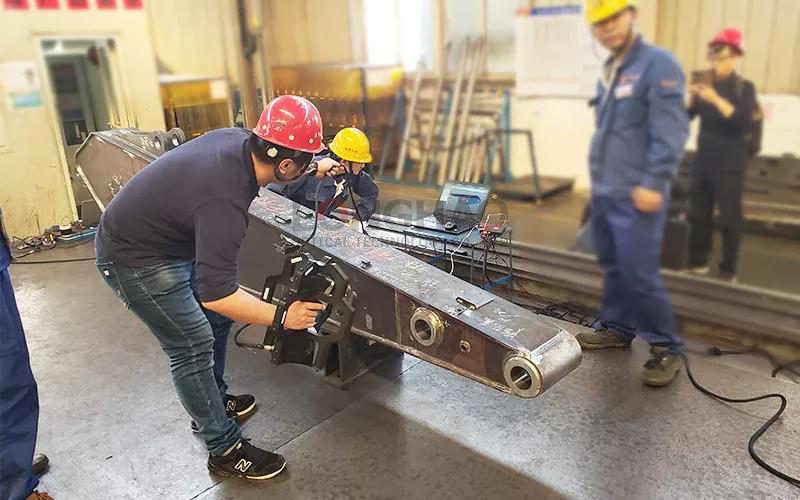
3. Obtain high accuracy STL data.

4. Compared with original CAD data.

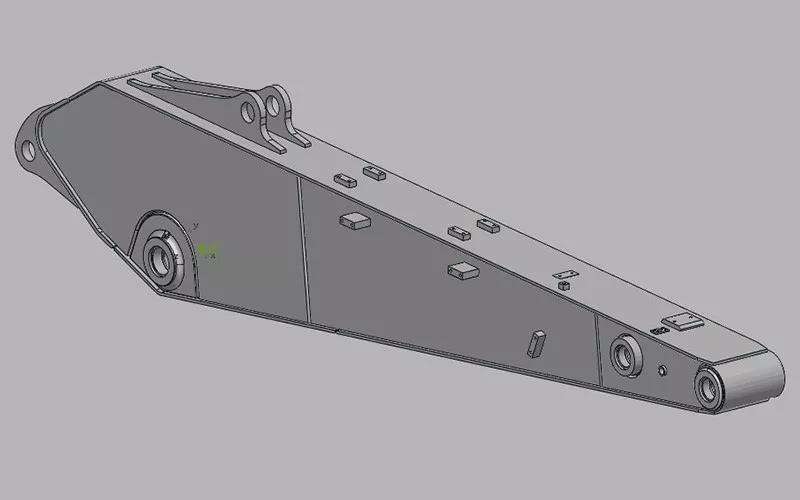
5. Obtain the deviation value of spindle holes shape.

The scanning time and data processing take 15 minutes.
TRACKSCAN tracking 3D scanner is imported from Norway andhas military quality. With the contact 3D measurement, the scanner quickly obtains accurate 3D data of the spindle holes and the excavator arms, and obtained datais compared with the original CAD data to obtain accuracy deviation value, which improves the work efficiency of later manufacturing correction.
Application extension - deformation detection
The excavator arm is a large welded part, which will produce a certain welding distortion during the actual production process, and there will be a certain residual stress inside, which is inevitable.
Welding deformation has a great impact on the accuracy of the structural installation. Excessive deformation will significantly reduce the bearing capacity of the structure and affect the service life of the arm. When the deformation is serious, it will even cause partial tearing, which increases the cost of correction and processing and cause necessary waste.
The TRACKSCAN tracking three-dimensional scanner obtains the accurate STL data of the entire surface of the excavator arm. Be compared with the original CAD data and obtain the deviation value of specific deformation to efficiently complete the three-dimensional detection. Provide accurate data to support for correction and processing, effectively reduce costs, shorten manufacturing cycles, and improve production efficiency.