With the rapid upgrade of global manufacturing, the manufacturing technology and the technological level also continuously improve. Because the complexity and precision of products are increasing, correspondingly higher requirements for product quality and reverse design have been put forward. Traditional surveying and mapping method has been difficult to meet the application of the market.
Take large workpieces as an example. Such workpieces are large in size and heavy, and many non-standard workpieces are complex in structure. The traditional measurement methods represented by rulers, liners, and three-coordinate measuring instruments have the following detection difficulties.
- The detection process is time-consuming and laborious. the larger the size, the larger the cumulative deviation.
- The detection parameters are limited, and it is difficult to measure curved surfaces, shade area, and corners.
- Traditional inspection tools will be worn out after a long time of use, which directly affects the test results.
- The precision of coordinate measuring machine is high, but for large workpieces, the cost is high and the convenience is poor.

In recent years, handheld 3D laser scanners, which are high-precision, fast, portable, real-time visualization, non-contact digital measurement equipment, have become the choice for more and more manufacturing companies to break through the tradition and transform. When facing large workpieces, there are still problems such as limitations of the power cables and accumulative error.
Case
The inspection for machining allowance of automobile body casting

The customer is a manufacturer of automobile mold castings, which mainly produces high-performance automobile castings such as side plate castings, car door castings, roof castings, and fender castings. Such castings need to ensure sufficient mass excess during processing, and customers need to quickly obtain comprehensive and well inspection data to determine whether the machining allowance of each position is sufficient.
Solution
HyperScan×ZGFreeBox
>>>Use HyperScan with wireless module to quickly scan the casting mold.

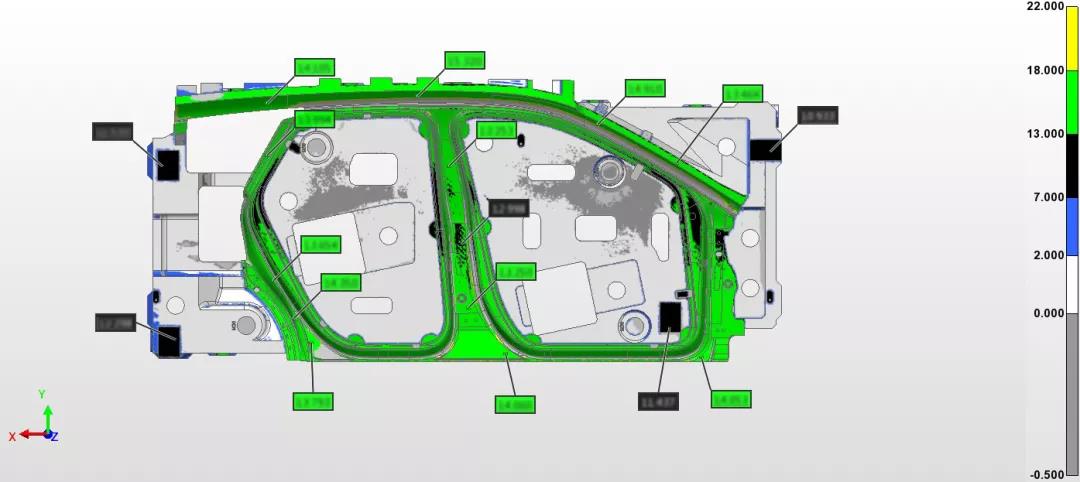
Compare the three-dimensional inspection data with the original data to obtain the machining allowance of each position.

↑ 3D Inspection report of car door machining allowance (Part schematic diagram of the report)
Features of solution
>>>Simple and efficient, saving time and effort
HyperScan has the function of automatically positioning the target point. It can collect high-precision three-dimensional data without sticking markers on the surface of the workpiece or setting up tooling. At the same time, its measurement rate can reach up to 2,100,000 times per second, and the scanning area can reach up to 600×550mm. In twenty minutes, you can obtain the data of the body structure that the traditional measurement method takes several days to collect, which saves time and effort. Greatly improve work efficiency.
>>>Wireless connection, upgrade of free
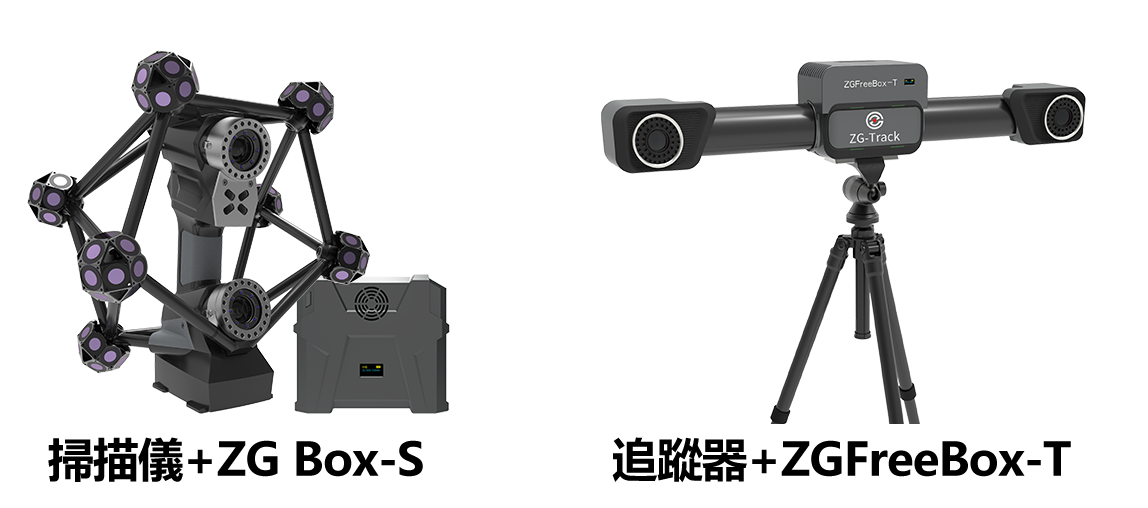
The wireless battery modules, ZGFreeBox-S and ZGFreeBox-T, matches for HyperScan and ZG-Tracker respectively, and they completely cut the traditional wired cable connection. When scanning such large workpieces, they have outstanding advantages of flexibility, freedom, and portability, which can explain that customers can more quickly complete 3D scanning and modeling work.

Large and complex automobile casting - analysis by 3D measurement
- Home
- Professional Service
- Measure
- Large and complex automobile casting - analysis by 3D measurement