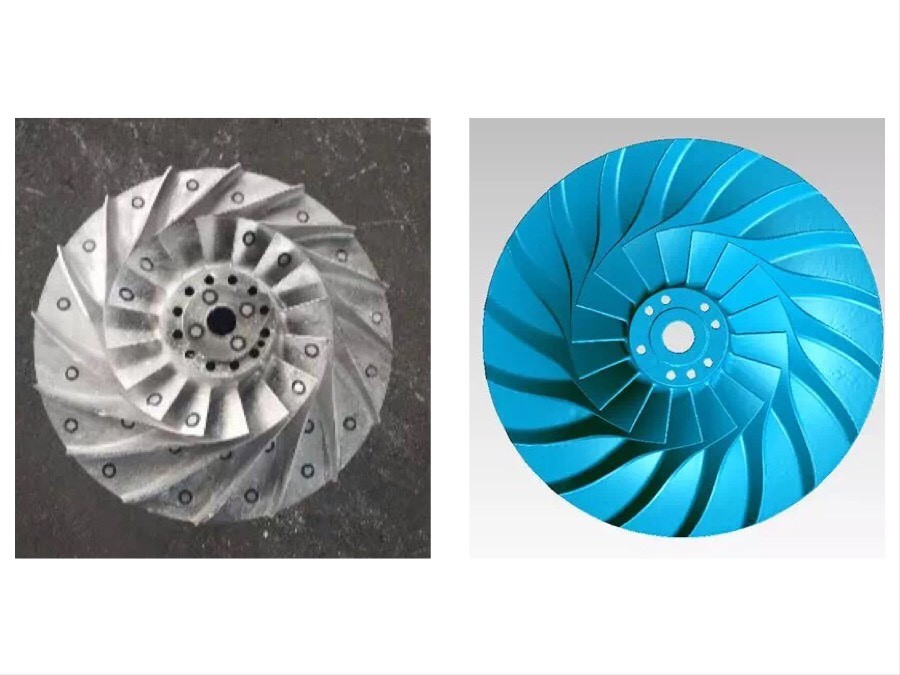
Quality detection of industrial blades
Industrial detection is a necessary link in industrial production, which guarantees the high quality of products. Traditional industrial detection is done manually by gauges. With the diversification of industrial products, traditional industrial detection has become a very time-consuming and laborious link. In this regard, non-contact three-dimensional quality detection has been paid more and more attention and has become the main mean of industrial detection.
Taking processing of industrial blades as an example, most of the products are complex curved surfaces, and the method of directly detecting products using traditional gauges can’t meet the increasing demand of industrial detection. On the one hand, the types of parameters that can be detected by traditional gauges are limited, and it is impossible to accurately and quickly determine whether complex products meet specific design requirements. On the other hand, gauges will experience loss for a long time of use, which will directly affect the results of product detection. Obtain a high-precision three-dimensional model of the product through three-dimensional scanning, and then use the model to directly be compared with the design model, which can quickly and accurately calculate and quantify the deviation between the product and its design size, and then determine whether the product is qualified. This non-contact detection method greatly improves the quality and efficiency of the detection process.
Solution
This case takes a 3D handheld laser scanner as an example to introduce the detection procedure of industry blades.
1. Post points
Stick reflective positioning target points on the detected workpiece for recognizing the position and the splice by the scanner.
2.Data collection
Use the handheld laser scanner INFINITY X to directly and quickly obtain high-precision three-dimensional data of the detected workpiece. 
3.Data processing
Reduce noise and optimize the surface to the collected raw data by using the original data processing software to obtain a high-precision three-dimensional model of the workpiece.
4.Output detection report
Align the coordinates of the three-dimensional model of the finished product with the three-dimensional design digital model, and then conduct a comparative analysis of the deviation to determine whether the deviation is within the range of tolerance. Then output an industrial detection report. 

Because of its small, portable and high-accuracy features, 3D scanning equipment is not affected by the complex environment of the factory, which greatly improves the efficiency of quality detection and can take into account many types of parameters that cannot be detected by traditional gauges.The scanner has gradually been accepted by enterprisesand become a good tool for industrial quality detection.